Categories
To manage a large number of ad campaigns that share common settings, you can use the “Categories” tool.
Creating Categories
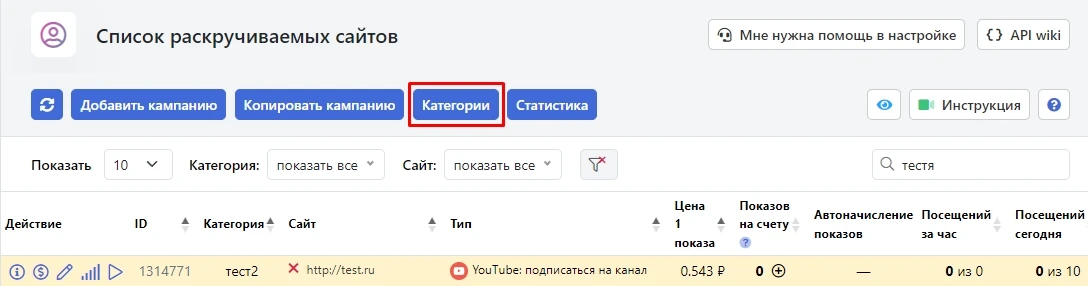
To create a category, on the «Your Sites» page, click the «Categories» button.
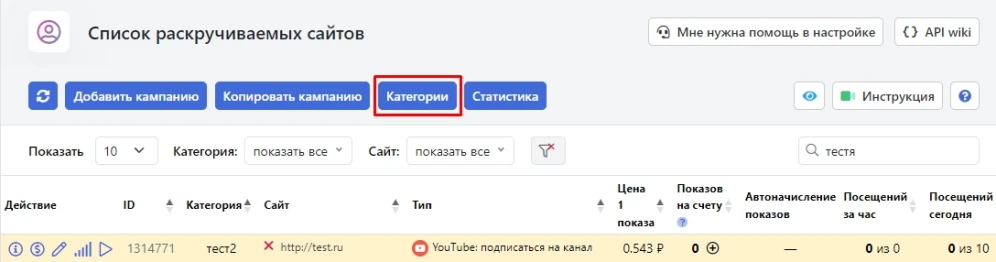
In the window that opens, enter the name of the new category and click «Add». The category has been created.
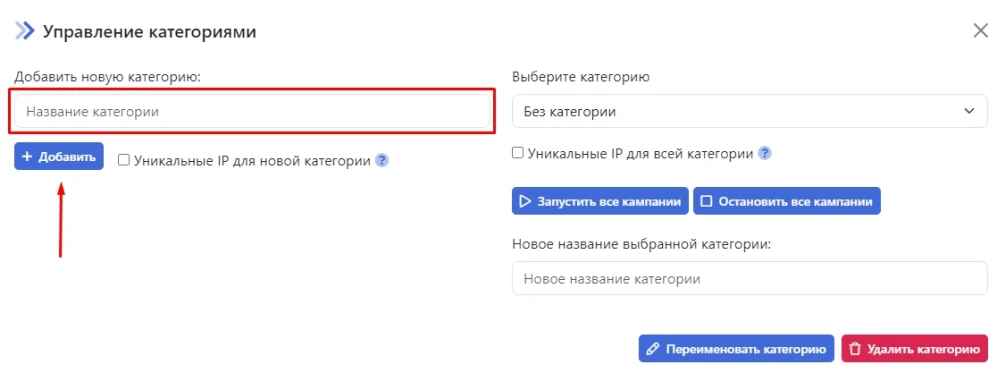
To assign the created category to the desired ad campaign, click on the field in the “Category” column in the management window and select its name. Repeat this step for all campaigns you want to group together.
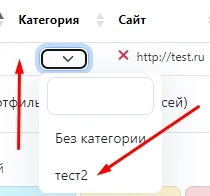
In the management window, you can simultaneously start/stop all campaigns in the group, as well as rename existing categories or delete unnecessary ones.
For all campaigns grouped together, on the «Advanced Settings» tab, you can apply bulk changes to delivery parameters.
Unique IPs for the entire category
For all campaigns in a single category, you can set “unique IPs.” This means that a single performer can complete only one task from the group. This setting makes traffic more valuable but reduces the total number of visits.
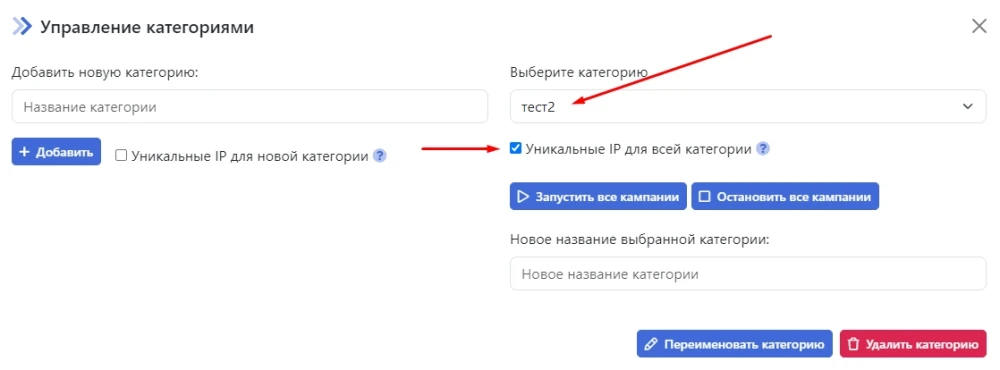
To set the IP setting, in the «Category Management» window, select the desired category and check the «Unique IPs for the entire category» box.
 IPweb
IPweb
Rate the material: